Bonus: Training on Google Colab
Training a YOLO model can be computationally demanding, especially when working with large datasets or running multiple training iterations. This bonus chapter explains how to use Google Colab as an alternative to local training and why cloud-based solutions can be advantageous.
Why Use Cloud-Based Training?
Training machine learning models locally is not always practical. Most laptops and desktop computers do not have a dedicated GPU suitable for deep learning. Training on a CPU can take 10-50 times longer than on a GPU. For our Euro note detection model, what takes 5 minutes on a GPU could take over an hour on a CPU.
While local training on GPU is possible, it requires a lot of setup and maintenance. You need to install the CUDA driver, cuDNN libraries, PyTorch with CUDA support, and manage dependency conflicts. Google Colab comes pre-configured with all necessary deep learning libraries and GPU drivers. You can start training within minutes without any installation hassle.
Local development still has advantages in some scenarios:
- Data privacy: Sensitive data should not be uploaded to cloud services
- Large datasets: Uploading/downloading gigabytes of data can be slow
- Long training runs: Free Colab sessions have time limits (~12 hours)
- Production deployment: Final models often need local testing
After we have already learned how to train a YOLO model locally, we will now use Google Colab to train our model.
Video Tutorial
If you prefer a visual guide, here is a video tutorial on how to train a YOLO model on Google Colab:
Google Colab
Setup
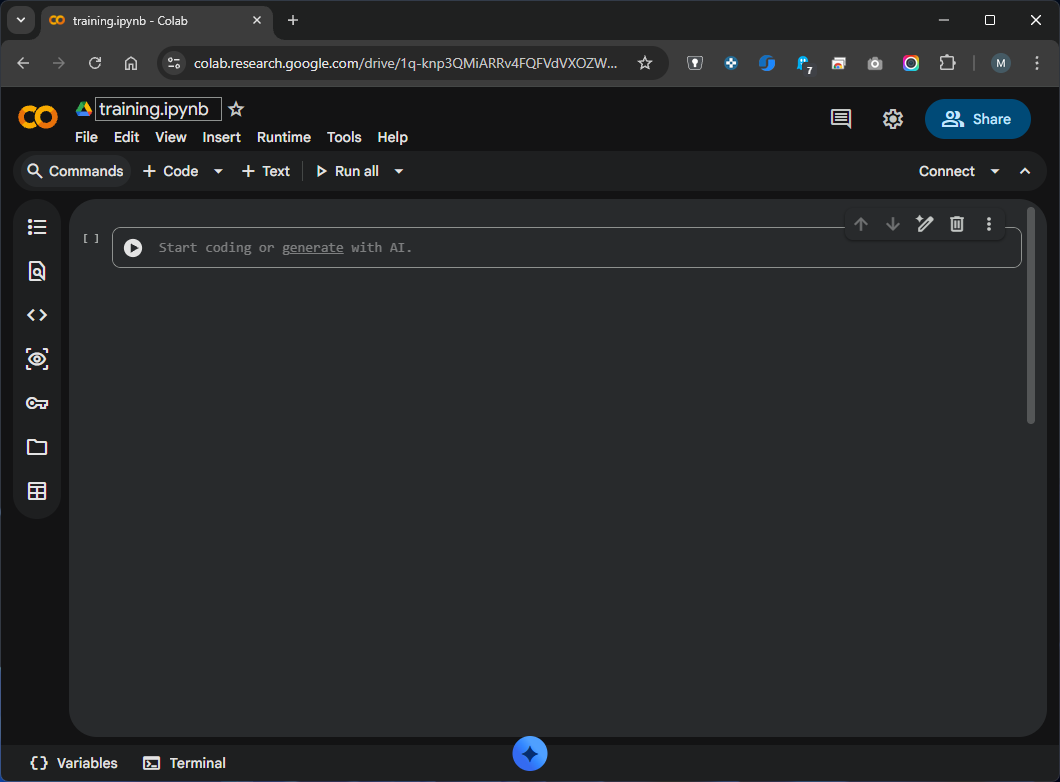
Navigate to Google Colab and sign in (right upper corner) with your Google account. Create a new notebook by clicking New notebook.
On the top left you see the name of the current notebook. You can also change the name by clicking on it and typing a new name.
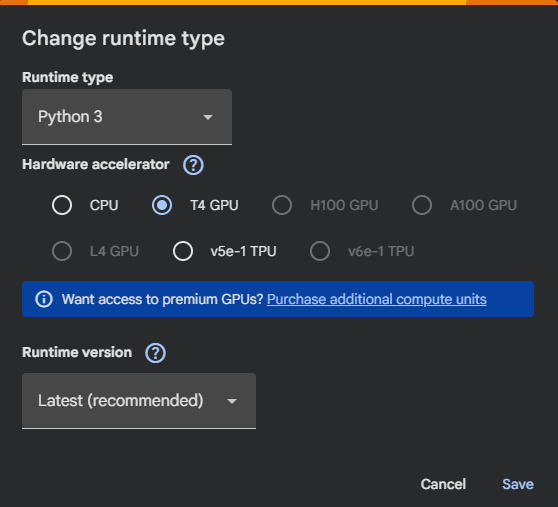
By default, Colab uses a CPU to run your code. To enable GPU acceleration - which is the reason we are using Colab in the first place - you need to change the runtime type to a GPU runtime. Therefore:
- Go to Runtime > Change runtime type
- Select T4 GPU (or any available GPU option)
- Click Save
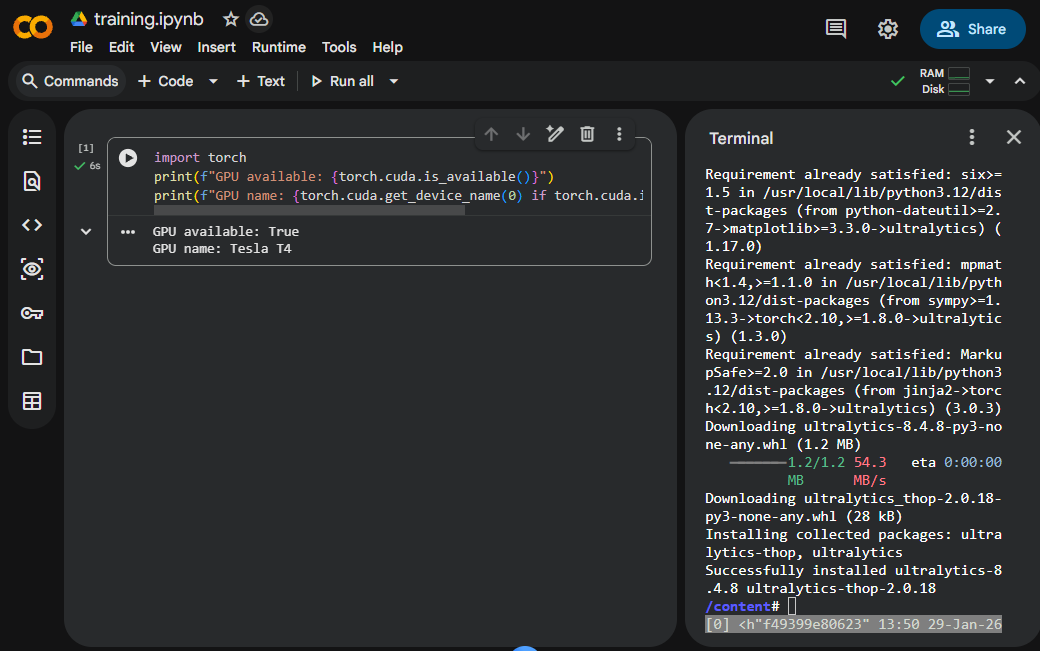
You can verify the GPU availability by running the following code in a new code cell in colab:
import torch
print(f"GPU available: {torch.cuda.is_available()}")
print(f"GPU name: {torch.cuda.get_device_name(0) if torch.cuda.is_available() else 'N/A'}")
-
 Correct Setup
-
 Faulty Setup
The last setup step is to install the YOLO library. There are two ways to do this:
To install the YOLO library, you can use the terminal (left bottom of the page) by running the following command:
Preparing the files
Before training, you need to upload your dataset and the configuration file to Colab. There are multiple options available to do this, like mounting Google Drive (especially for larger datasets), or downloading from an URL link. We take a closer look on the easiest option: to directly upload the files to the Colab session.
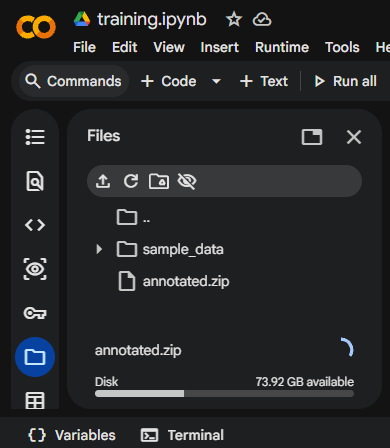
On the left side of colab you see the files icon . By clicking on it, something like a file explorer will open. We can now upload the files by simply dragging and dropping the files into this area. In our case, we want to upload the annotations folder and the config.yaml file. For both we need to make small changes compared to the local training.
Since the upload only allows files, the annotations folder can not be uploaded directly. Therefore we need to create a zip file (here called annotated.zip) of the folder and upload this file instead.
The upload can take a few minutes. The progress is shown in the bottom of the file explorer.
In order to unzip the file, we need to run the following code in a new code cell in colab:
After the unzipping, the annotations folder should be available in the file explorer.
Session Storage
Files uploaded directly to Colab are temporary and will be deleted when the session ends. Use Google Drive for persistent storage.
The second file we need to upload is the config.yaml file. We already created this file in the training chapter. We need to make small changes to the dataset path.
# Data
path: '/content/dataset' # path to your project folder
train: images/train # train images (relative to 'path')
val: images/val # val images (relative to 'path')
#test: # test images (optional) (relative to 'path')

nc: 2 # number of classes

# Classes
names:
  0: 10euro # Name of the Object
  1: 5euro
After uploading both things - the annotations and the config file - we are ready to start training.
Training in Colab
Now you can train your model exactly as you would locally:
from ultralytics import YOLO

# Load a pre-trained model
model = YOLO('yolov8n.pt')

# Train the model
results = model.train(
    data='/content/config.yaml',
    epochs=10,
    device=0  # Explicitly tells YOLO to use the GPU
)
Time Consumption
Some self-performed tests to train the model for 10 epochs on ~300 images showed the following time consumption:
- locally on a CPU (in this case an Intel Core i9-12900): ~8.5 minutes.
- locally on a GPU (in this case a NVIDIA GeForce RTX 3060): ~1.5 minutes.
- in Colab on a Tesla T4 GPU: ~1.5 minutes.
What we can see here is that the performance of the training depends massively on the hardware. If you are not in possession of a GPU, it is a good idea to use Colab to train your model.
Working with the results
After the training is finished, we can work with the results just as we did locally. In the Colab file explorer you can see the runs folder with the same results as explained in the training chapter.
Everything - including the model weights - can be downloaded by right clicking on the file and selecting "Download".
How to download all files? You can use the following code in a new code cell in Colab:
This will create a zip file of the runs/detect/trainX folder which you can then download by right clicking on the file and selecting "Download".
Now you are all set! You can download your model and try to start the inference process.
🎉 Congratulations
You have now trained your own YOLO model on Google Colab. If you do not have a GPU, this is a really good way to speed up the training process.